So, I've done a pretty terrible job this semester of updating this blog with my updates. I hate to admit it, but part of the problem with updating this blog was that I had a late start on the project. Unfortunately, a bunch of projects sucked up my time. Anywho, I figured I could repent a little by giving a nice long rundown of my process, along with some pics.
After going to class and watching hours and hours and hours (yes, many hours) of tutorials, I finally feel like I'm starting to SCRATCH the surface of Maya... but only a scratch. I hope this gives some insight into my dimly lit brain!
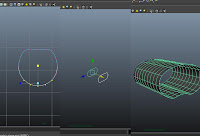
First, I drew out the shapes in Illustrator and then imported them into Maya as curves (shown in older posts)... unfortunately, I had no clue what I was doing and ditched that idea. I
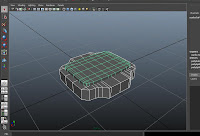
now know how to do it that way but I did not used that method for this project. Instead, I reverted to good ol' box modeling. Here's what I came up with (click for larger image):
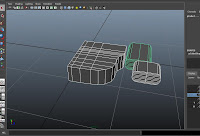
Needless to say, that did not work. In fact, I literally rebuilt this about 20 times, and I still would have built it differently. Here' are some more that didn't work:
This one kinda looks like I have something... but I didn't.
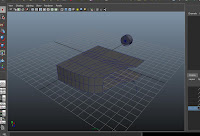
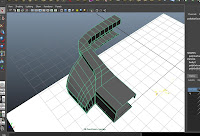
Ok, here's what I did. I started with a box, bumped up my divisions and deleted 3 sides. I then warped my main part of my body where I wanted it to go--You can see where I grabbed the vertices and pulled half of them down. Then, to do the curved extension (where it attaches to the band) I used the CV tool to draw out my curved lines--bottom and top. See below:
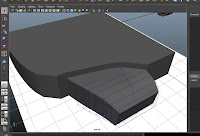
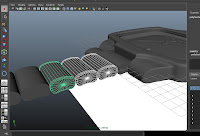
Next, you select your curves and the edges of the box and extruded them. I bumped the divisions up to about 8. I then did the same of the bottom--make sure they are the same amount of divisions! Then I used the append to polygon tool to connect them. After a TON of tweaking and finessing, I came to this point where I had to fine tune the outside. Since it was on a curve and it's sloping down, I adjusted the outside edge of the extension by lofting the vertices (blue grid box). It worked very nicely!
Next I built mirrored the geometry and created the hands with some simple box modeling. The "seconds" hand was a little trickier, but basically I used a cylinder with 8 sides to create the hand, then created another cylinder for the rivet, deleted 4 faces (leaving 8 sides) and bridged the 2 shapes. The ruby was also created with cylinders.
Next came the knob--used a cylinder, grabbed the outside faces and extruded them, BUT (very important) under the properties I turned off "keep faces on". Then tweaked it until I was happy.
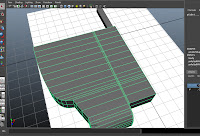
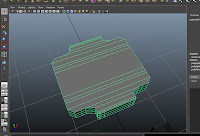
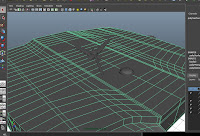
Alright, so next I delved into the main body some more. I deleted the area where the glass would be, and the bottom where the back plate would be. I had to tweak this quite a bit to get everything just right.
This next picture jumps ahead quit a bit but you should get the idea. All I did was mirror the geometry, grab the inside edge and kept extruding it and til I got all of the creases I wanted. Then I was left with a hole in the middle. So, I went to "mesh>fill hole", I selected the new face and went to "edit mesh>poke face". From there, I tweaked the center until it made a nice, upward bulge.
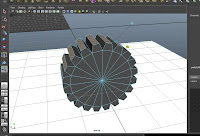
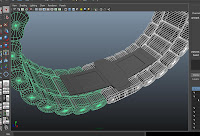
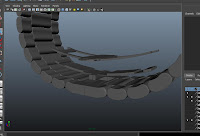
So, things are finally starting to take shape! Next, the watchband! I started with a nurbs circle and flattened my control point to make an oval-ish shape; and of course--tweaked the crap out of it. It helps to have a higher amount of sections, I used 16. Then to get the bend, I selected the curve, went to the animations tab, then to "create deformers>non-linear>bend". Tweak the curvature so you see how it bends, then rotate the bend to wherever you need it. The pic below looks a little weird but you get it. Next, I duplicated the curve, selected both, went to surfaces>loft. Then converted it to polygon and did "poke face" on the ends. The pic shows 3 pics in one.
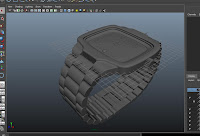
In the end it looked like this:
The cool thing about the band is how I bended it. I just selected all of the duplicated links, grouped them (ctrl+g) and added the same bend deformer that I used on the links. It just took some tweaking to get it just right!
Last thing on the modeling was the clasp. Basic box modeling--pushing, pulling, extruding.
Another view showing how they're separate.

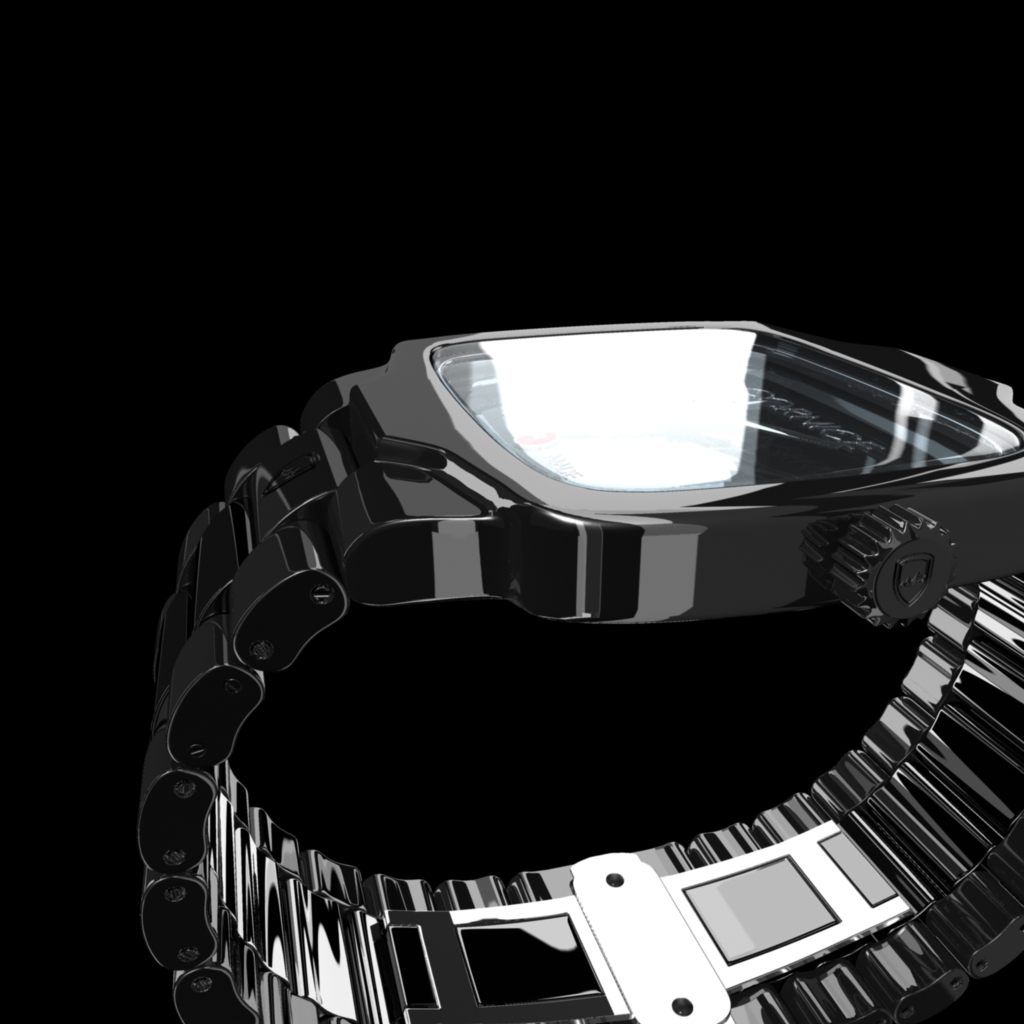
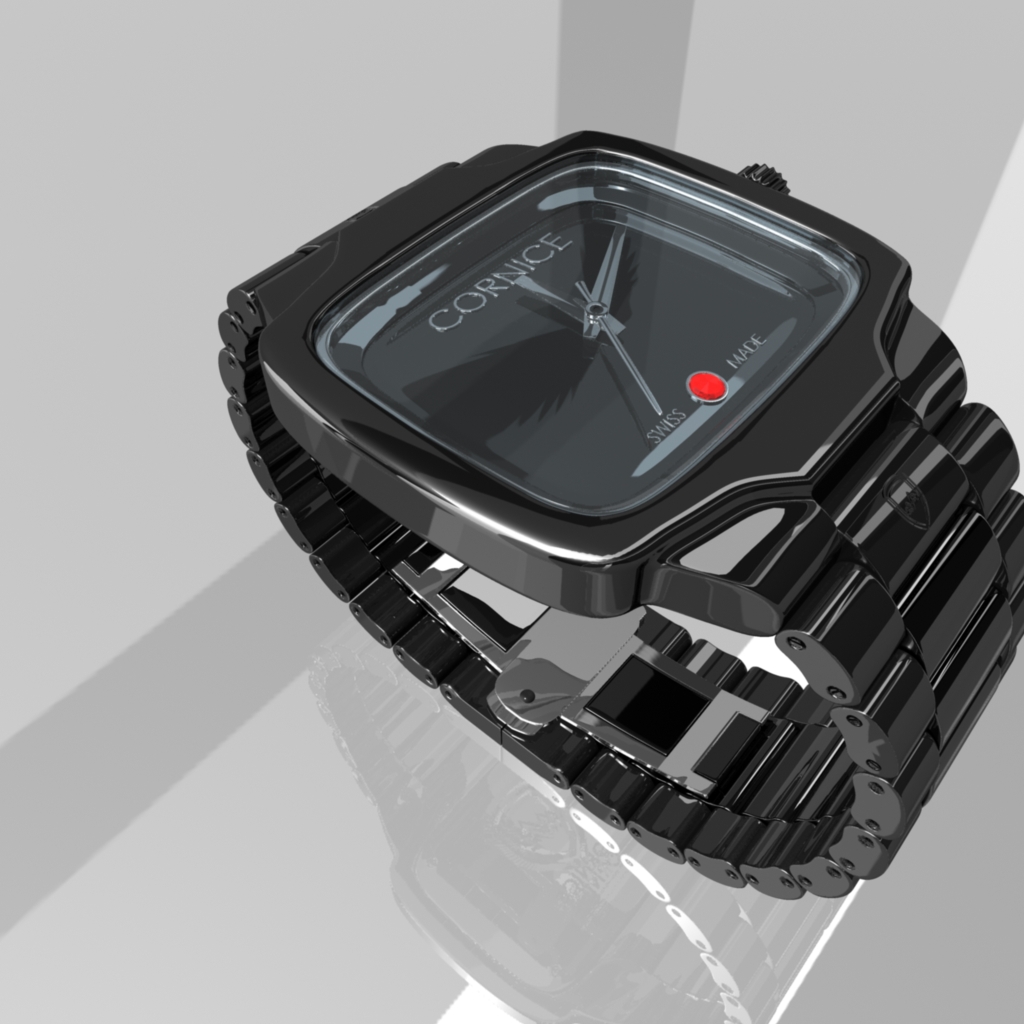
Finally getting to the end. At this point I've started messing with the mental ray shaders. I knew I wanted it very shiny like chrome but darker. The clasp is the only thing shaded right now.

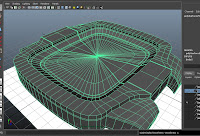
The next image is really starting to hone in on what I'm trying to do here. ALL of the shaders are from the mental ray shaders built into maya--they are surprisingly rockin! If you go to the hypershade, look under mental ray shaders (on the left) and click on mia_material or mia_material_x (I suggest this one because it allows a bump map), it will apply a fairly dull, grey shader. But if you go to the "presets" in the attribute editor, you can change it to chrome, glass, water... etc. These work really well! Take a look below to see the progress.